How to Get a Head Start on Spring Planting with Self-Watering Systems
Share
Spring is the perfect time to refresh your garden, but getting a head start can make all the difference in achieving lush, thriving plants. One of the best ways to maximize early growth and reduce watering stress is by using self-watering systems like planter inserts, watering globes, and automatic watering devices.
Whether you’re starting seeds, transplanting seedlings, or reviving perennials, a self-watering system ensures consistent moisture, giving your plants the best possible start to the season. Here’s how to use them effectively!
What Are Self-Watering Systems?
Self-watering systems are innovative tools designed to provide plants with a steady supply of water. They include:
- Self-watering planter inserts: Reservoir-based systems that sit inside planters or garden beds.
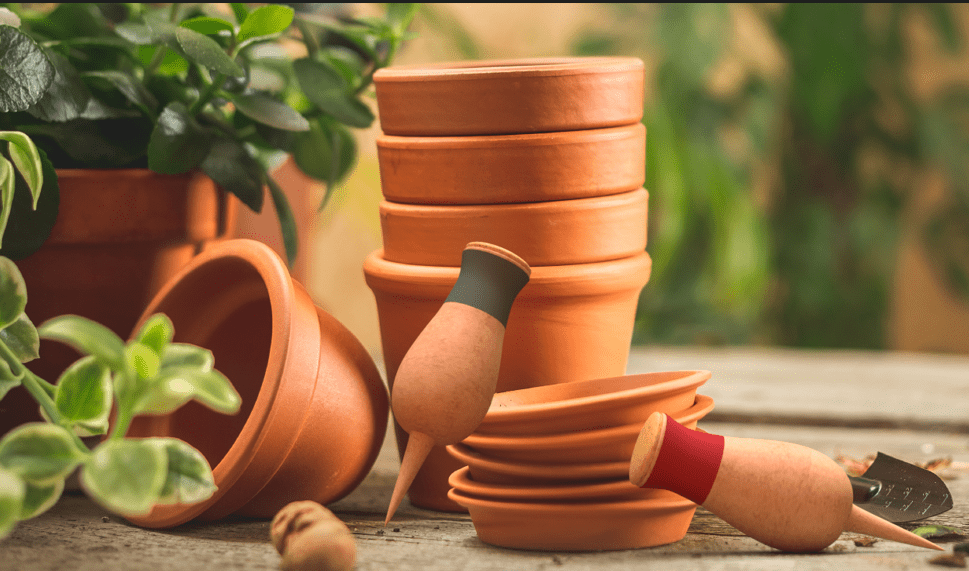
- Watering globes: Terracotta or glass bulbs that slowly release water into the soil.
- Automatic watering systems: Devices that deliver water on a schedule or as needed.
How They Work:
- Water is added to the reservoir or globe.
- Plants absorb moisture through capillary action as needed.
- The system regulates water flow, preventing soil from drying out too quickly.
Why Use Self-Watering Systems for Early Spring Planting?
Spring weather can be unpredictable—with sudden warm spells, cold snaps, and fluctuating rainfall. A self-watering system provides:
✅ Consistent moisture for young plants: Helps seedlings and transplants establish strong roots.
✅ Protection from dry spells: Keeps soil evenly moist, even if you forget to water.
✅ Faster plant growth: Reduces stress, leading to healthier, more productive plants.
✅ Water efficiency: Uses less water by reducing runoff and evaporation.
How to Use Self-Watering Systems for Spring Planting
Step 1: Choose the Right System
- For small planters, use watering globes or compact self-watering planter inserts.
- For large containers or raised beds, opt for a deep reservoir system or automatic watering devices.
Step 2: Prepare Your Planter
- Add a layer of soil above the insert or globe, ensuring proper root contact.
- If starting seeds, place them evenly above the moisture zone.
Step 3: Fill the Reservoir or Globe
- Add water until the reservoir is full (typically through a side spout).
- For watering globes, fill them completely and insert them into the soil.
Step 4: Monitor Growth & Adjust
- As plants mature, their roots will naturally reach for the water source.
- Adjust watering frequency based on the season and plant type.
Best Plants to Start Early with Self-Watering Systems
🌱 Vegetables: Lettuce, spinach, carrots, radishes, kale
🌷 Flowers: Pansies, marigolds, petunias, snapdragons
🪴 Herbs: Basil, cilantro, parsley, chives
These plants thrive with consistent moisture and will sprout faster when given the right water balance from the start!
Why Choose SmartiLiving’s Self-Watering Systems?
At SmartiLiving, we offer a range of self-watering solutions to simplify your gardening routine. Our products, including terracotta watering globes, self-watering planter inserts, and automatic watering systems, are designed to:
- Save time and effort.
- Keep plants hydrated during vacations.
- Promote healthier, faster-growing plants.
Ready to transform your spring planting? Explore our collection of self-watering systems today and give your garden the care it deserves!
👉 Shop Now at SmartiLiving
